To get space in orthodontic cases, you either follow one or more of the following paths:
- Expansion
- Extraction
- Interproximal reduction
While interproximal reduction is not the favorite approach for many dentists, since it would take out precious natural enamel, it is still less aggressive than extraction and many patients favors it more than they do for extraction.
So here’s my approach to do inter proximal reduction (a.k.a IPR).
Before I begin I’ll list what I’ve tried and didn’t work for me:
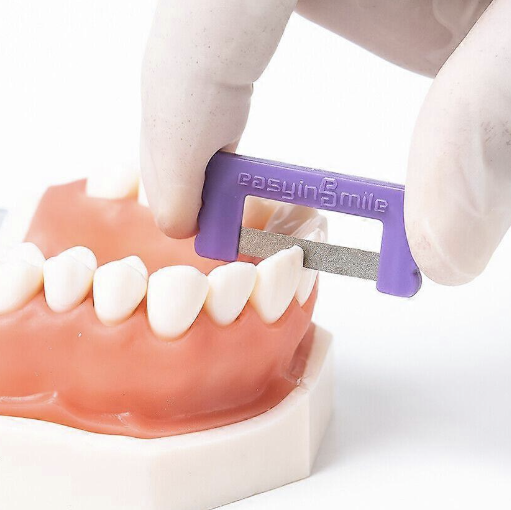
Manual strips and saws
- Pros:
- They are easy to use
- They follow the curves of the interproximal area and wouldn’t cause wide (rectangular) contacts where they shouldn’t be.
- Cons:
- They are slow hard to have more than 0.2mm of reduction.
- They break too easily and almost considered a single use instrument.
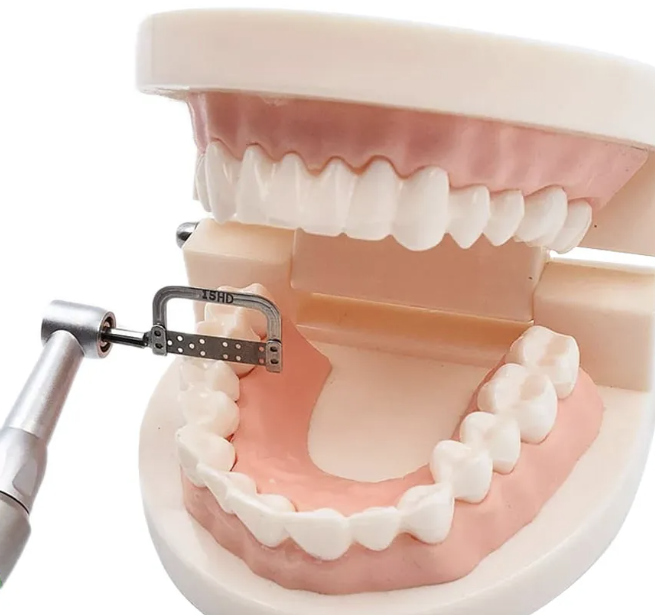
Handpiece-connected reciprocating strips
- Same pros as manual strips
- They are still slow but a bit faster than manual strips
- They break too easily
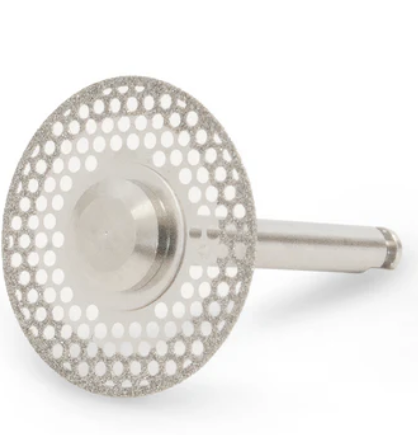
Handpiece-connected rotating round saws
- Fast and don’t break or consumed too easily
- They take too much and cause piano-shaped teeth since they take a straight line along the long axis of the tooth
My solution:
Use two burs
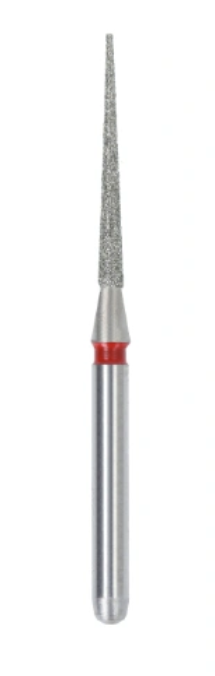
- One tapered bur: insert this bur in a 90 degrees angle to the interproximal area, gingivally, where it wouldn’t face any resistance before cutting, then move it incisally to cut. You should do the same movements once labially and once palatally (lingually). This bur would do the heavy lifting and
I usually consume this bur per-case. i.e. I would throw it away after doing a full case with. But this is an inexpensive bur (around 40 cents for Chinese brands).
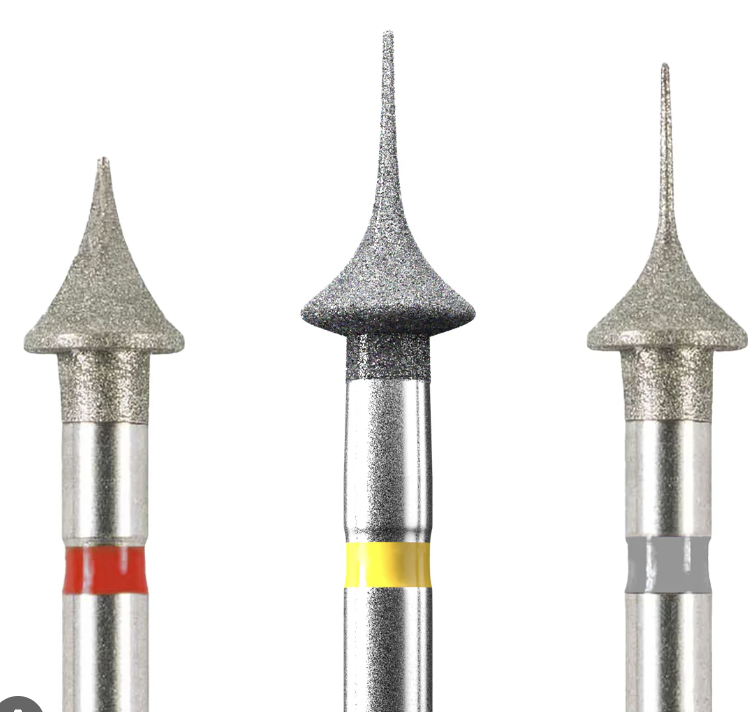
- One Mosquito bur: after finishing all contacts with the aforementioned bur, I would do the same movements with this bur. This bur would last around 20 – 30 cases easily.
Leave a Reply